Starting to brew beer: things I wish I knew
June 8, 2019
June 8, 2019
Last year, I started to brew beer as a hobby with a friend. After a couple of batches, here’s a small article to share some learnings from that experience so far.
This might be the only thing we got straight right. If you never brewed beer before, start with a 1 gallon kit (e.g. a kit like this), don’t directly get into a bigger setup.
The reason for this is that it lets you experiment with brewing at a very limited cost. If you decide you don’t enjoy brewing that much, at least you didn’t invest hundreds of dollars into your equipment.
If you do want to keep on with brewing, you’ll quickly notice that 1 gallon is not that much beer and will want to scale to 6 gallons batches, possibly fermenting multiple of them at the same time.
However, the 1 gallon kit is never lost. It will always be handy to make experimental batches, when you want to try different things and be more creative without taking too much risk (as if it ends up to be undrinkable, you didn’t waste a lot), and when you’re satisfied with your experimental recipes, you can easily increase the quantities to make bigger batches of them.
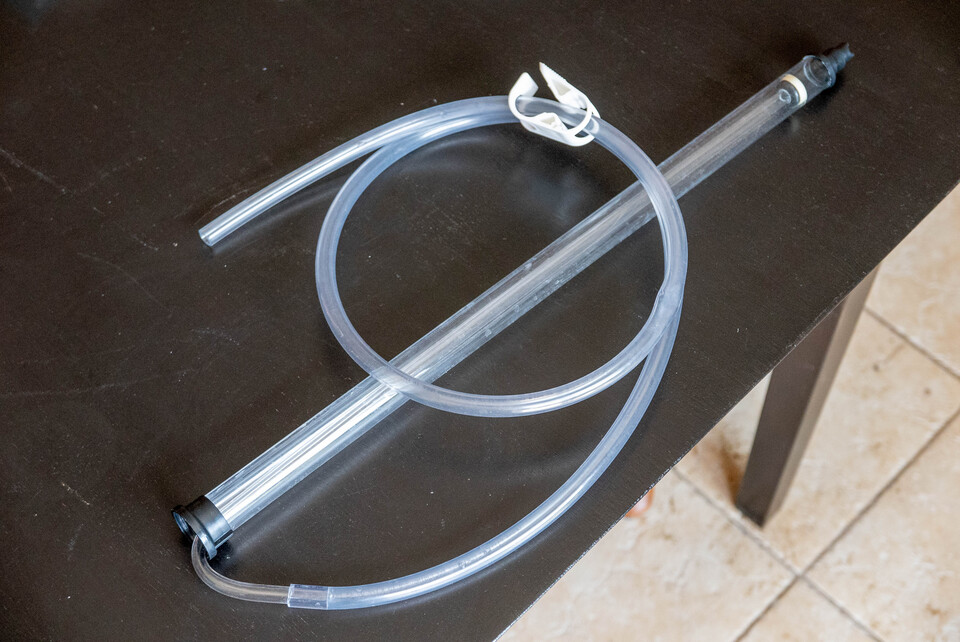
Maybe we just suck at using a regular siphon, but when trying to rack the beer with it, it took many attempts to get the stream running, and we ended up having to suck on the end of the tube to start the siphon, and it would sometimes randomly stop and we’d have to reactivate it in the same way, resulting in repeated mouth contact with the siphoning tube (even after “sanitizing” your mouth with vodka as I sometimes see advised online, I still would rather avoid this) and accidental spitting into the beer as well. It still turned out good, but might as well not do this kind of things.
To avoid this, just directly get an auto-siphon. It’s trivial to use, and you can effortlessly start the stream or give it a little boost if it was to slow down.
When you start doing more than 1 gallon (e.g. 6 gallons) batches, get a wort chiller. It’s somewhat pricey (count between $80 and $100 Canadian for a 6 gallons one, regardless if you if you make it yourself or get a premade one), but the time and energy it saves you is so worth it even since the first time you use it.
Without a wort chiller, you can try to put the mash tun in the bath tub with cold water (that’s even if you have a bath tub), continuously throwing ice in the water to cool it down, but even then it can take many hours to get the temperature down to a point where it won’t kill the yeast, while the wort chiller will get the job done in 10 minutes without you having to do anything other than opening the tap of cold water.
So do yourself a favor and get a wort chiller.
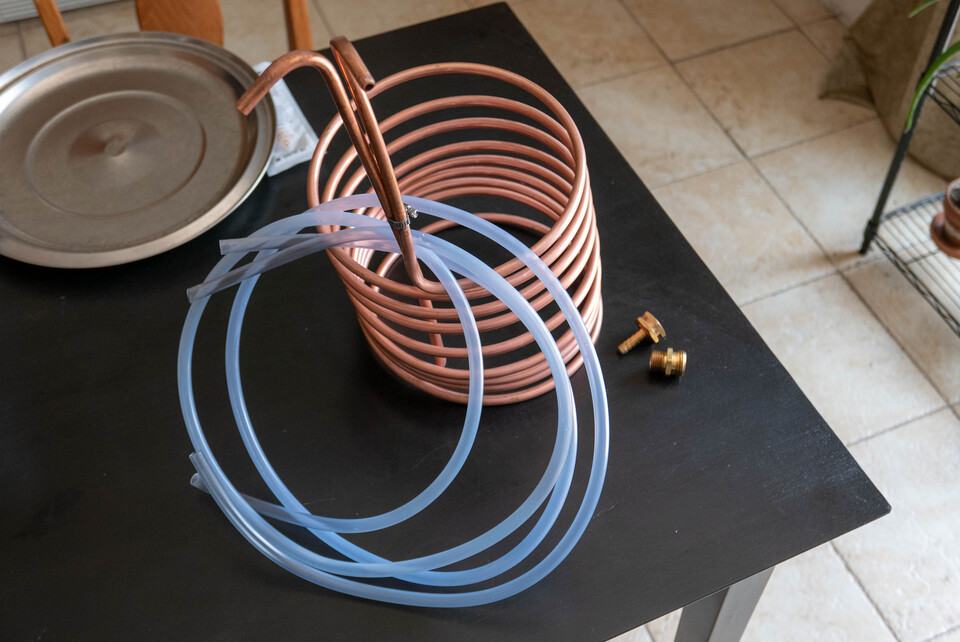
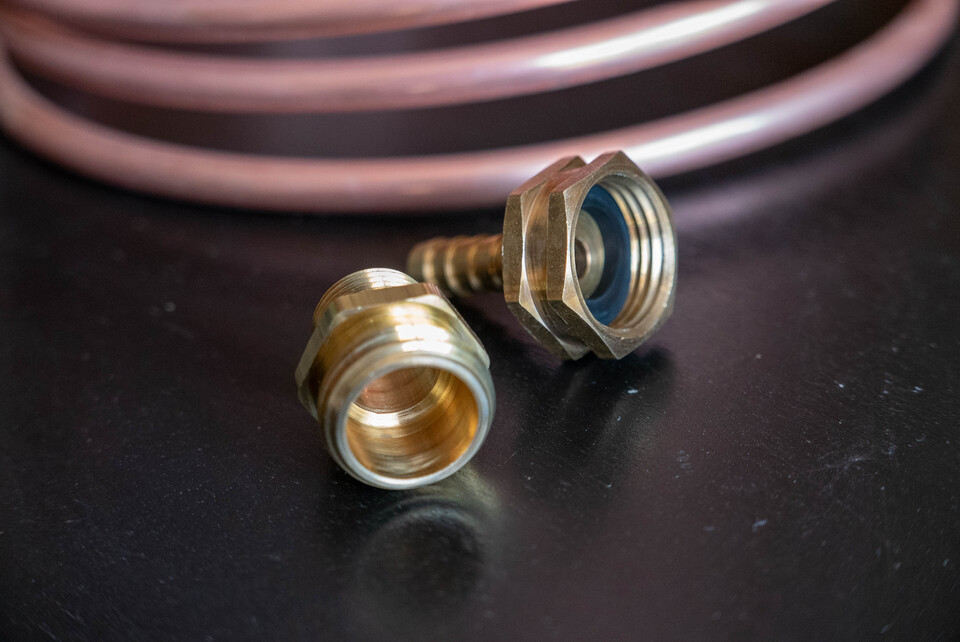
You might need an extra adapter to plug it onto your sink as they usually come with a piece that fits garden hose size.
Here, we have a 1/2" (sink) to 3/4" (garden hose) adapter.
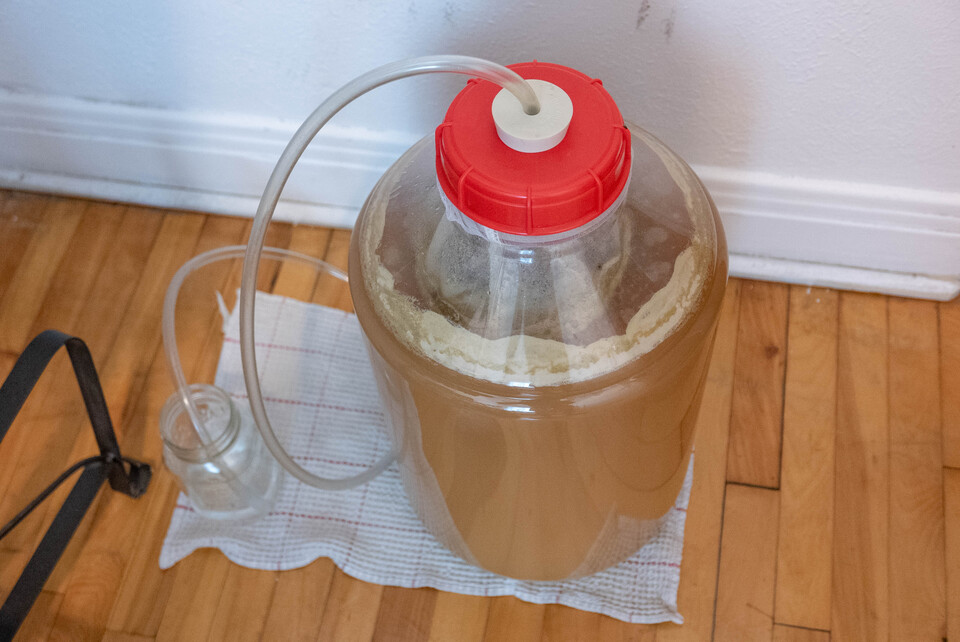
While airlocks are nice, it turned out for me that a blow-off is pretty much as easy to set up and prevents potential mess.
For example, you might make the mistake of over filling your carboy, thus not letting enough head space for the fermentation, and this will quickly clog the airlock. Or maybe with the kind of beer you’re doing you’re having a very active fermentation and the same results happen.
To avoid this potential issues, just go for a blow-off and stop worrying. It’s easy, instead of putting the airlock in, just put a plastic tube in, and put the other end into a jar that contains some sanitized water (e.g. OxySan). As your beer is fermenting, you’ll see bubbles in the jar the same way you would see them in the airlock, but if for some reason it overflows, it’s just gonna end up in the jar and won’t block anything.
When the fermentation is done being active, feel free to switch it for an airlock, but at that point might as well just leave the blow-off unless you really need that jar or tube.
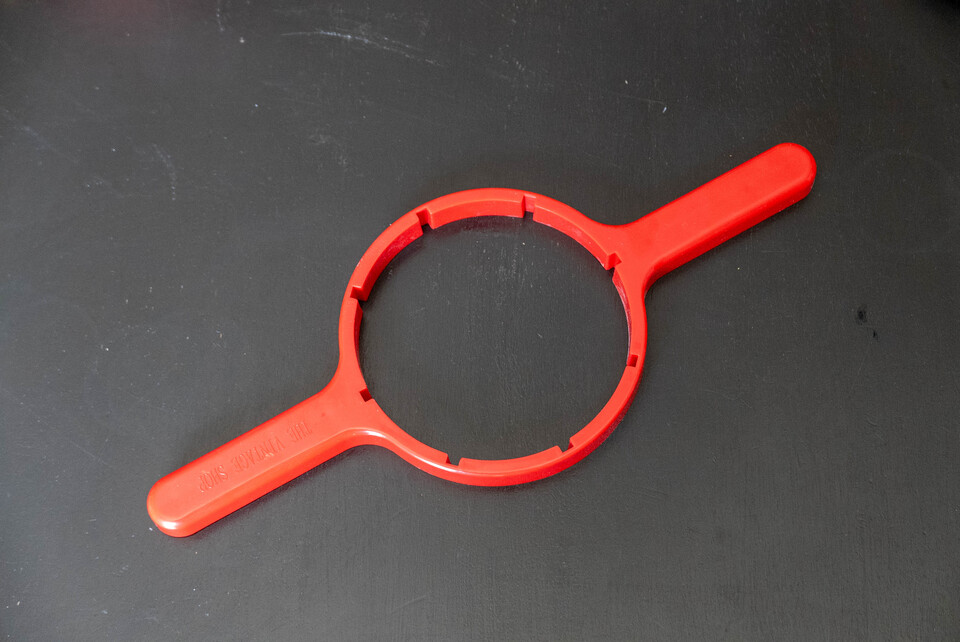
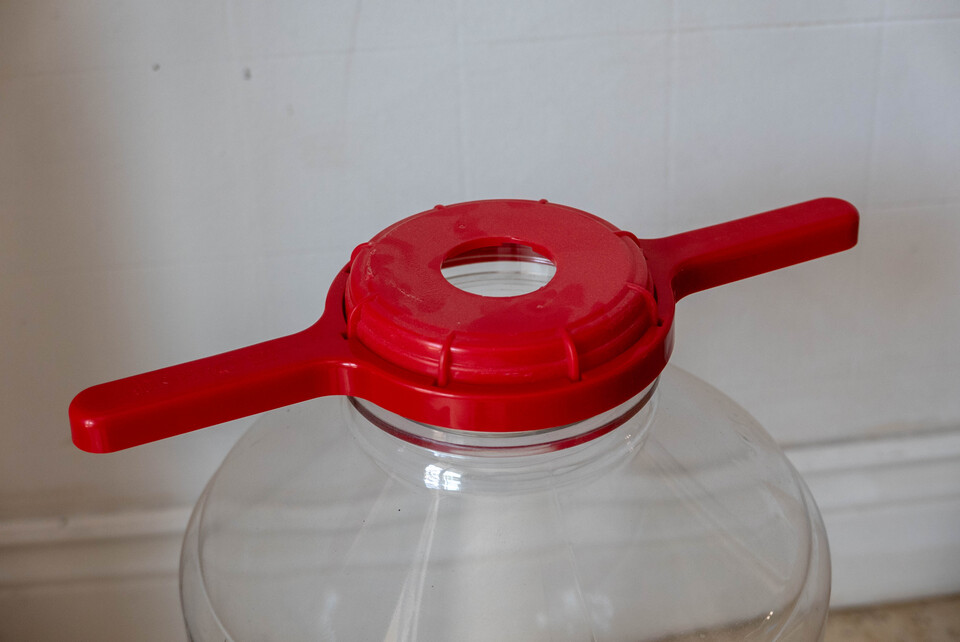
This little tool that costs like 2 bucks might save you some time and energy. Get it just in case while you’re at the brewing equipment store.
It can happen after sitting for many weeks or even months that the carboy lid gets pretty tight and hard to remove by hand, especially if you used a nylon bag to dry hop or infuse extra ingredients.
A carboy lid opener will then be really useful for you to easily open your carboy when you need, instead of struggling with your fingers for a while to get it open.
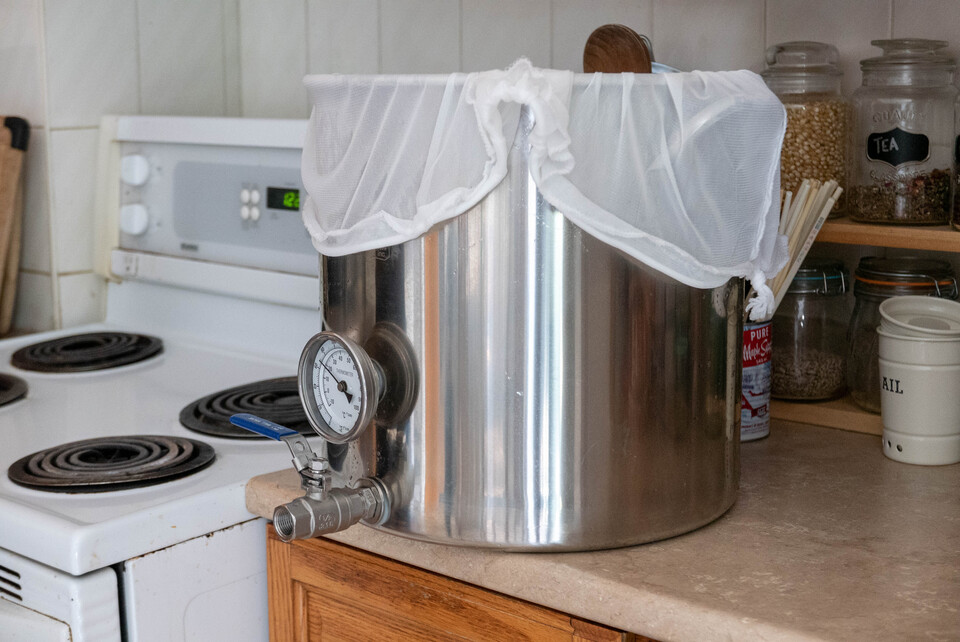
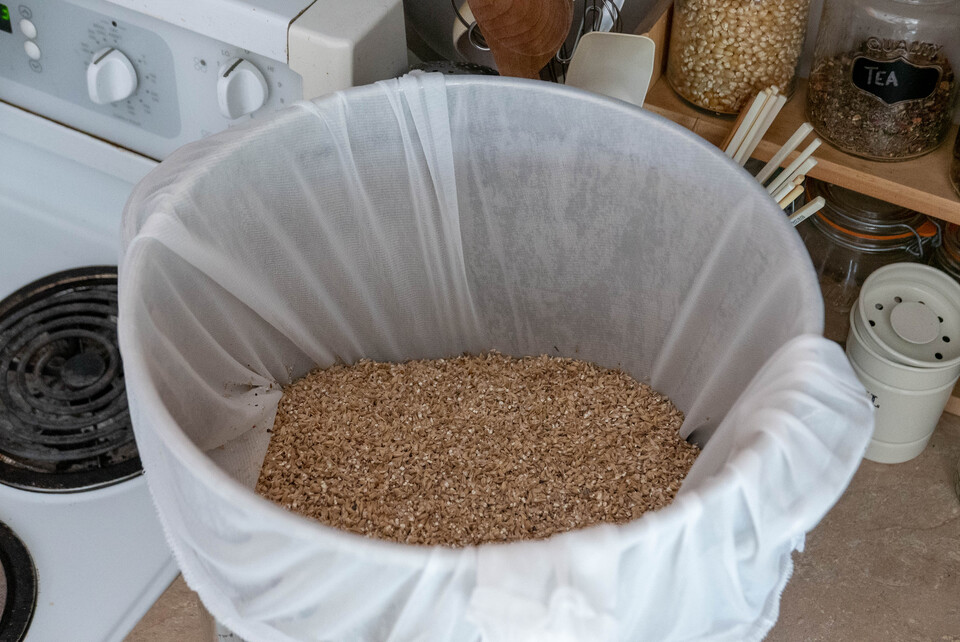
If you’re gonna use the same mash tun to make your mash and to boil it, you’re gonna have to get rid of the grains and clean it up before boiling.
Regardless if you’re using a regular strainer or a bazooka filter, you’ll end up with a lot of grains in your mash tun which will take some time to remove while your mash is just sitting there.
Instead, you can get a grain filter basket, or a grain filter bag (much less expensive) to put in the mash tun, so that when you’re done with the grains, you can just remove the filter basket or bag, and the tun is instantly ready to use.
Then, as the boil is going, you can take the time to clean up the grain filter in parallel instead of it delaying the start of your boil.
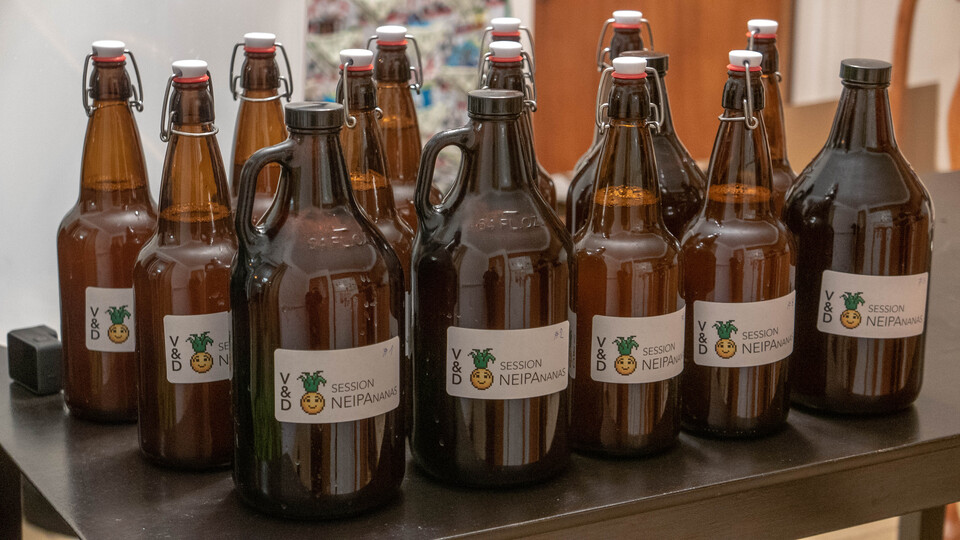
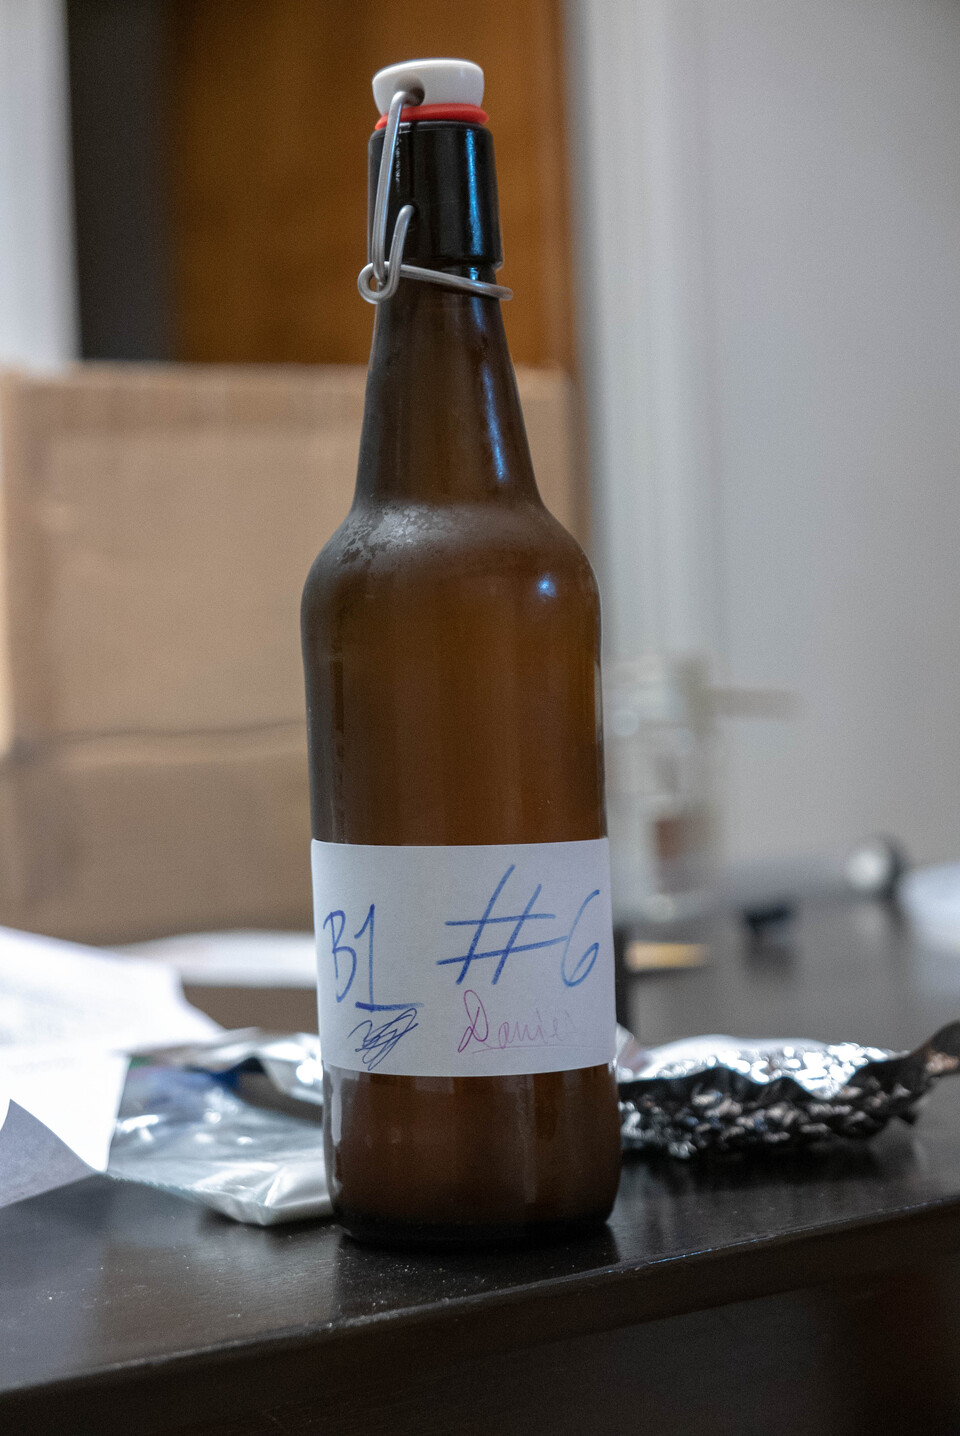
Swing top bottles are cool. Easy to open and close, no need for caps and capper, plus they make a very nice pop when you open them. Guaranteed effect in parties.
Unelss it’s your very first batch, brewing time is the best time to enjoy one of your previous homebrews!
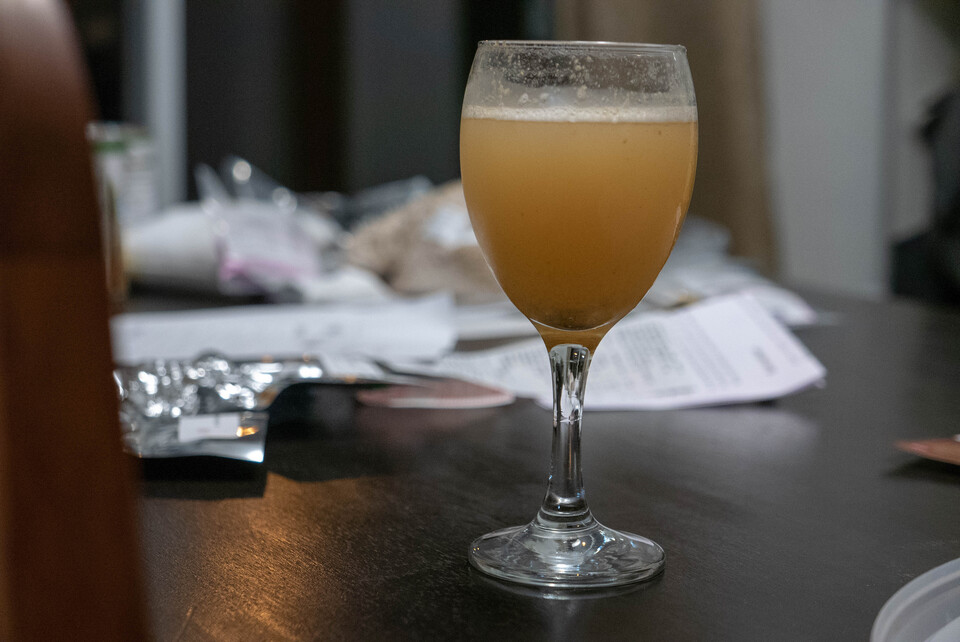
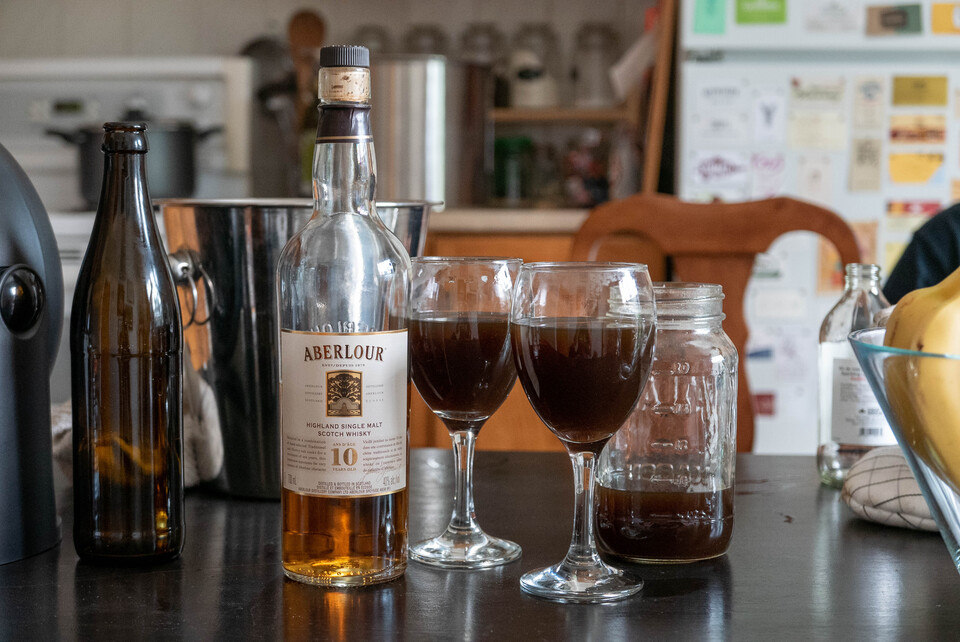
When draining the mash, sweep a little jar down the spigot to get some of that tasty warm malt juice. Pour a drop of your favorite single malt scotch in it and enjoy one of the greatest beverages in the world.
I tried a couple different scotch from my collection for this and my favorite so far was hands down the Aberlour 10. It spices up the mash while keeping it smooth and without being overwhelming. While otherwise I’m a huge fan of Laphroaig, Lagavulin or Caol Ila, those didn’t really cut it for the hot scotchie as their strong character would just stand out and didn’t pair well with the sweeter taste of hot mash.